3D assets upload
caution
Please make sure you upload the 3D assets according to your usage into the correct tool. Please read the 3D assets introduction beforehand. Click here
Please make also sure you upload the correct format and you follow our recommendations. Click here
Note: Please upload 3D assets only when the session is inactive. If the session is active, it is recommended to ask participants to leave and re-enter the session.
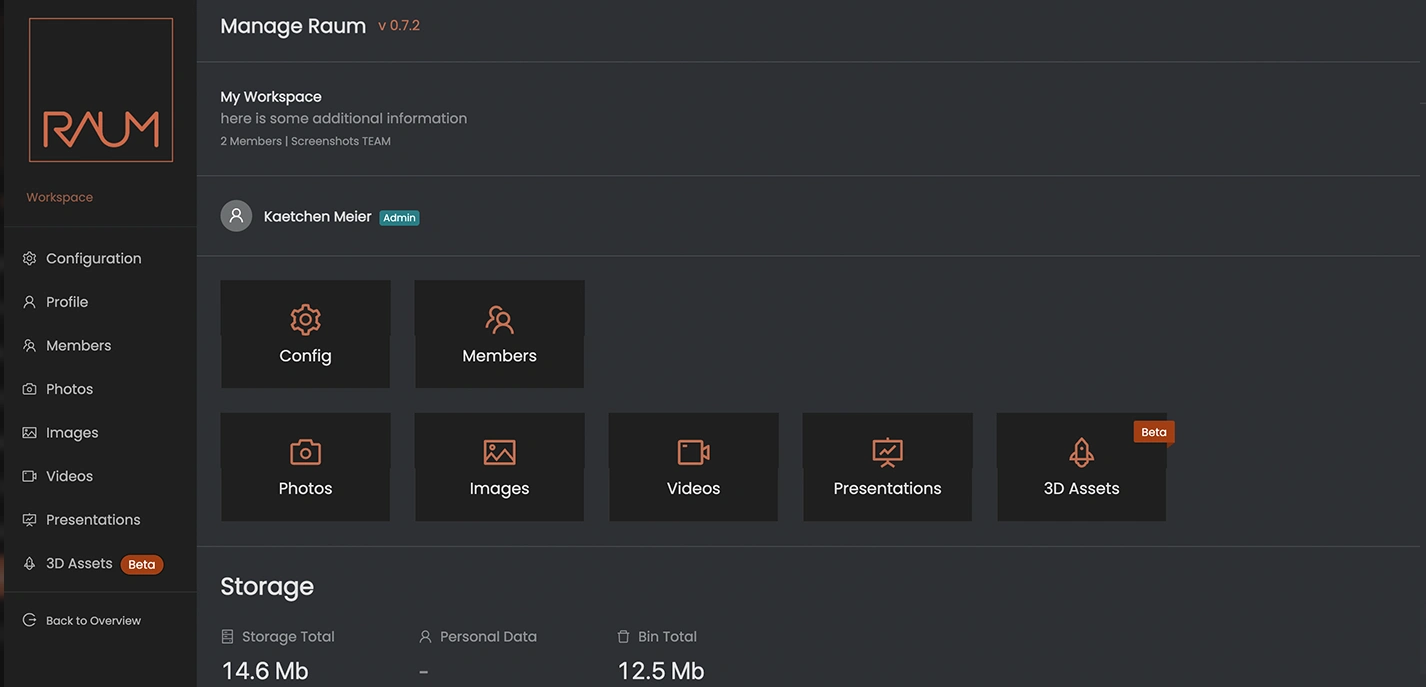
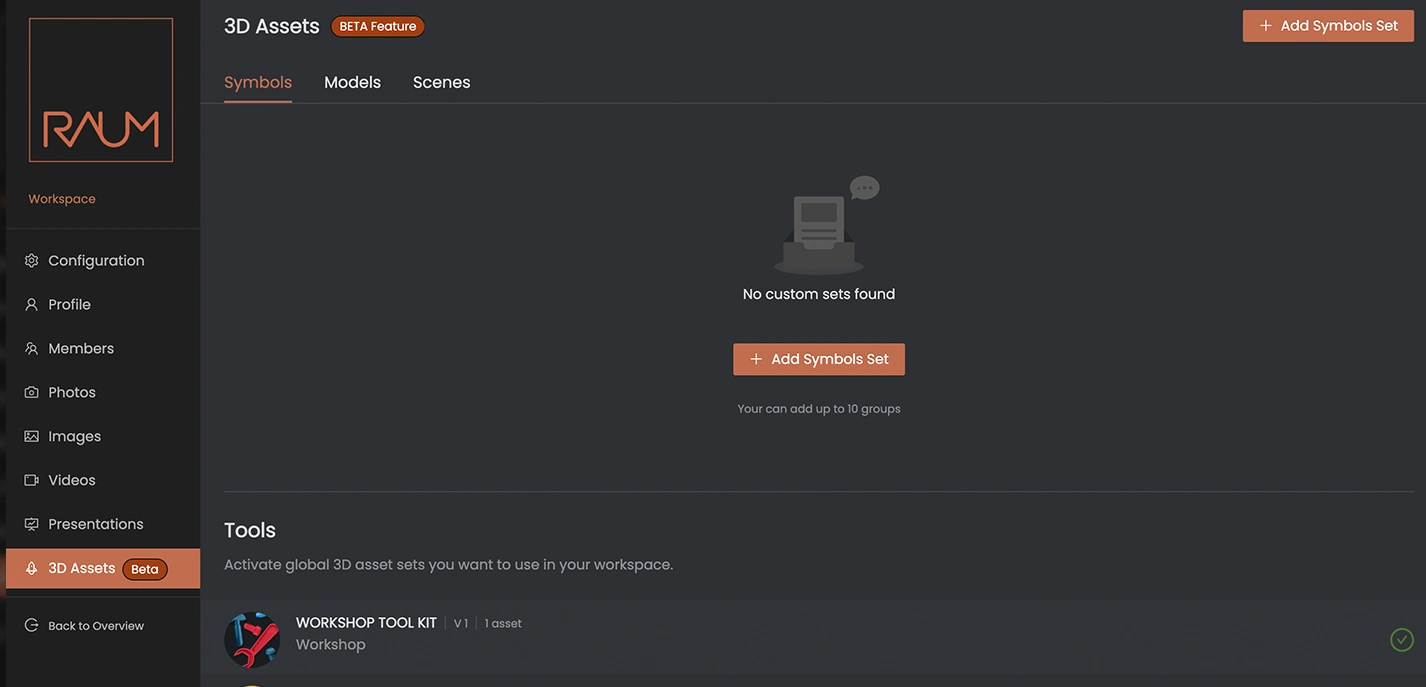
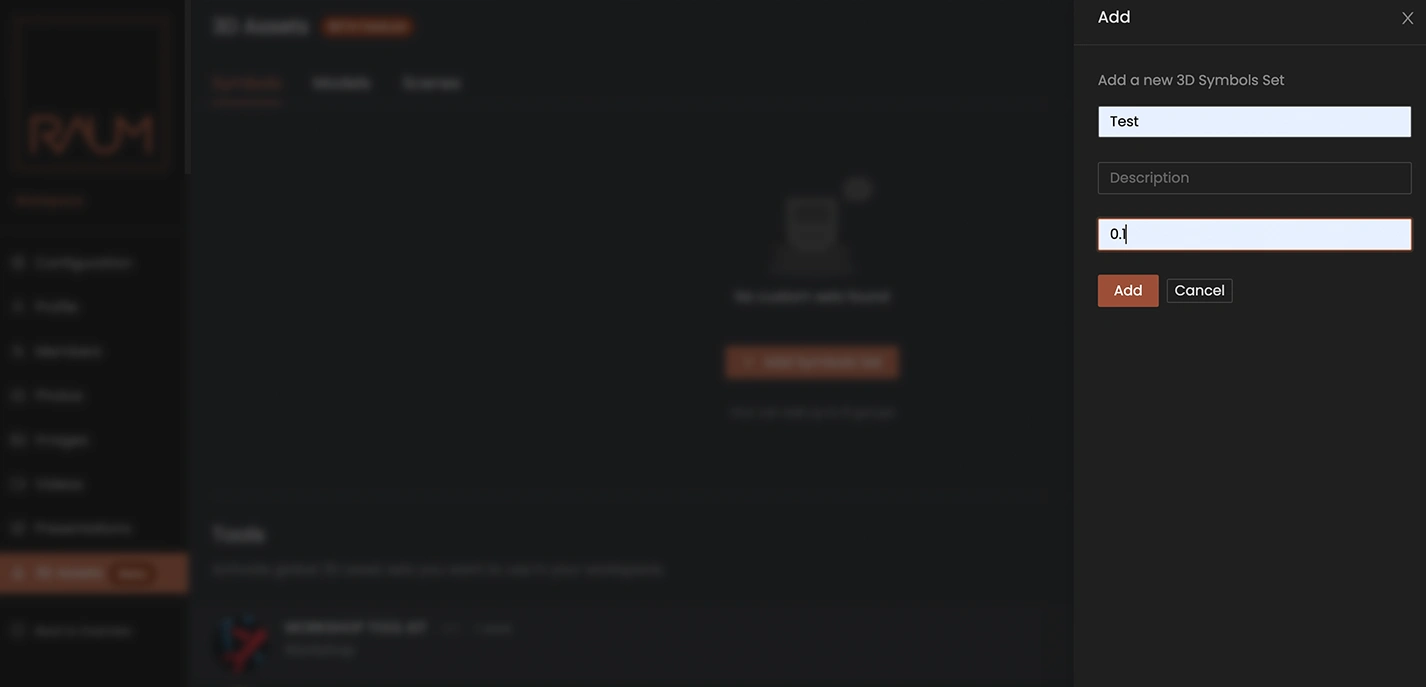
add a new or select a existing Set
For all uploads you need to create a new or select an existing symbols, models or scenes Set.
In case of a new set, press button +Addxyz and give a name and optional a description and a version of your Set.
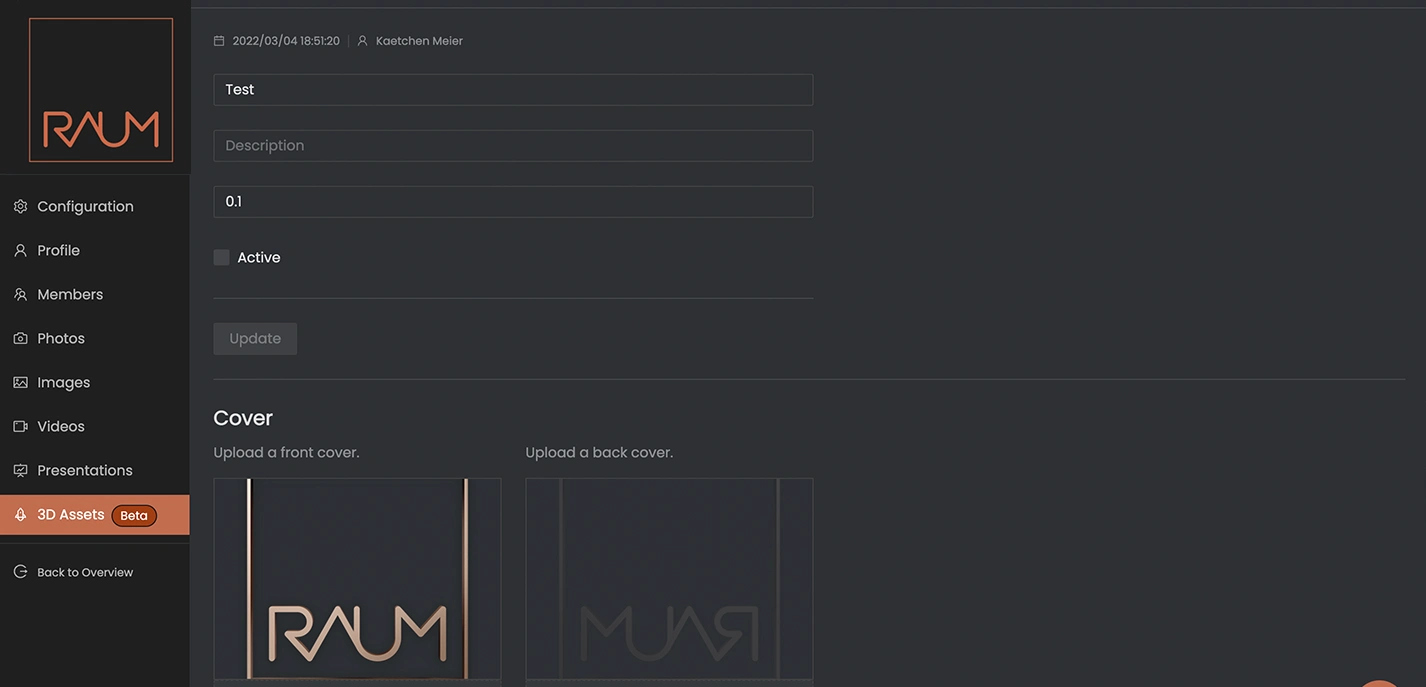
add cover
To make your set easy to recorgnized and to handle in your workspace. You can add a front and a back cover to be able to identify the assent set from all sides. You can find the specifications for the cover here:
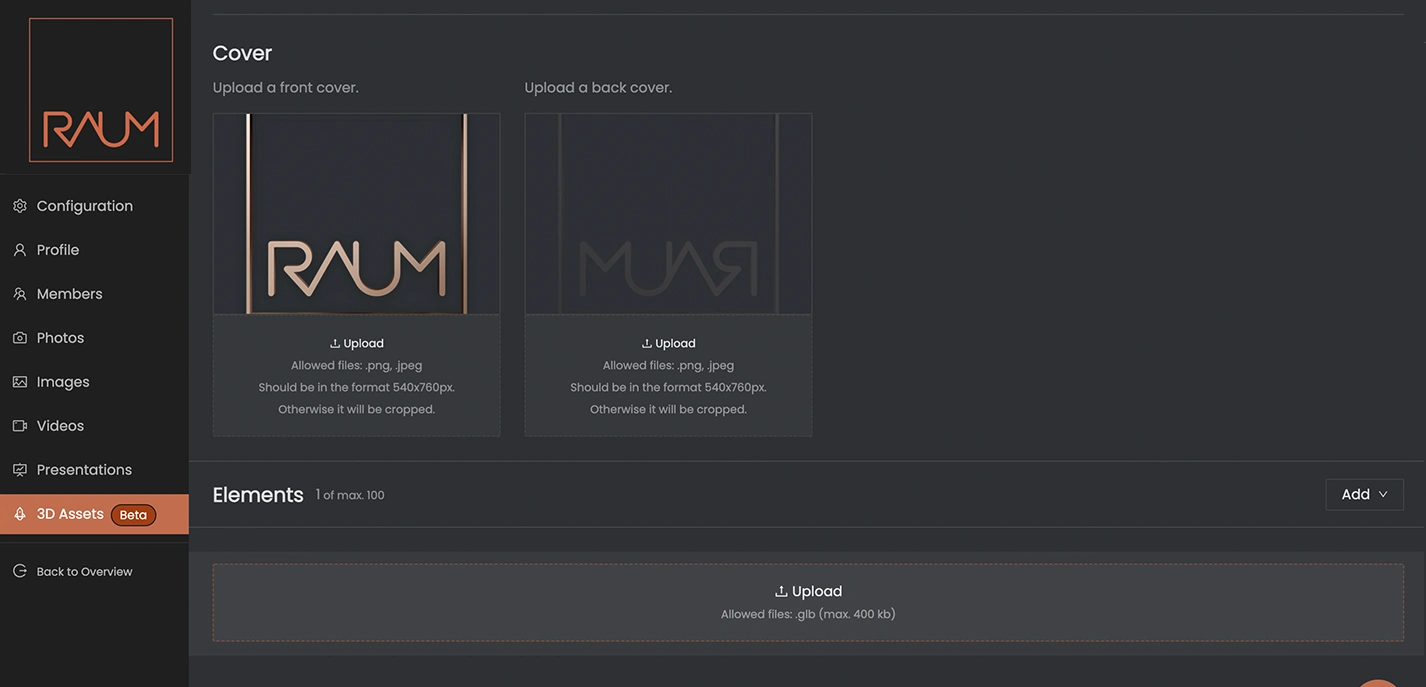
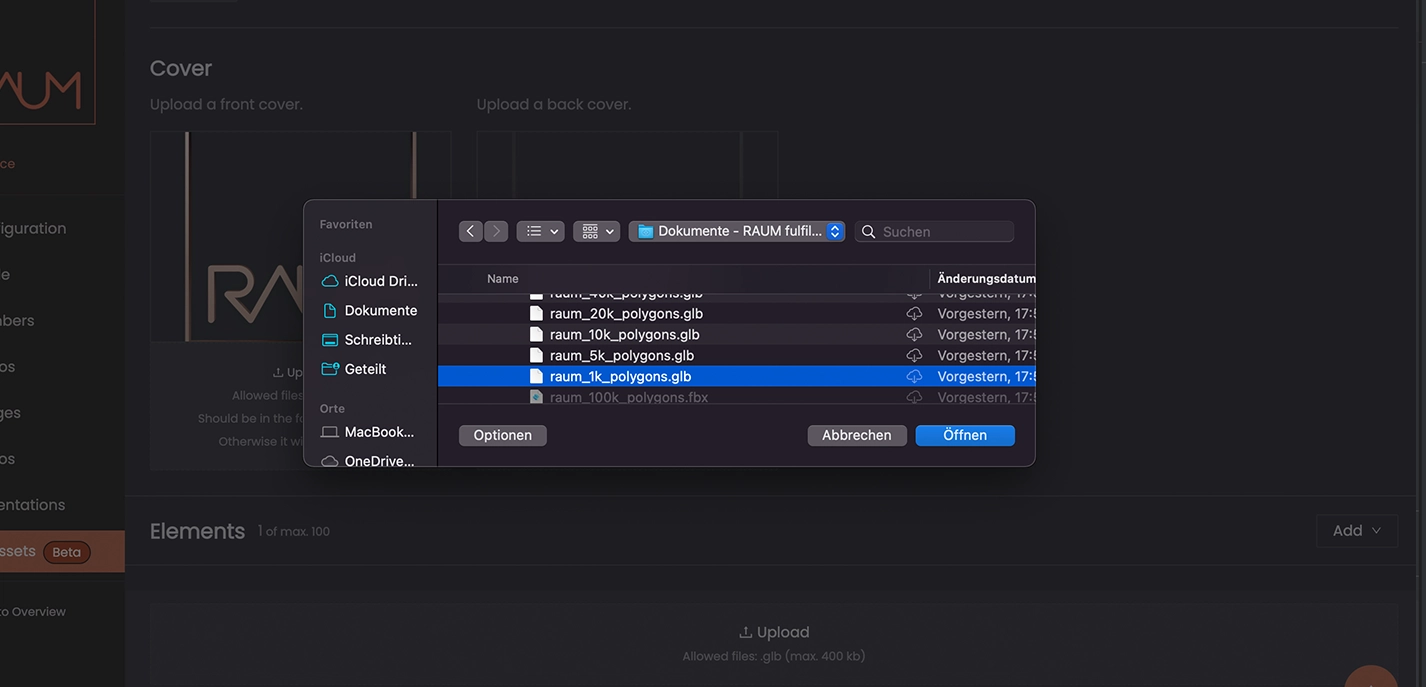
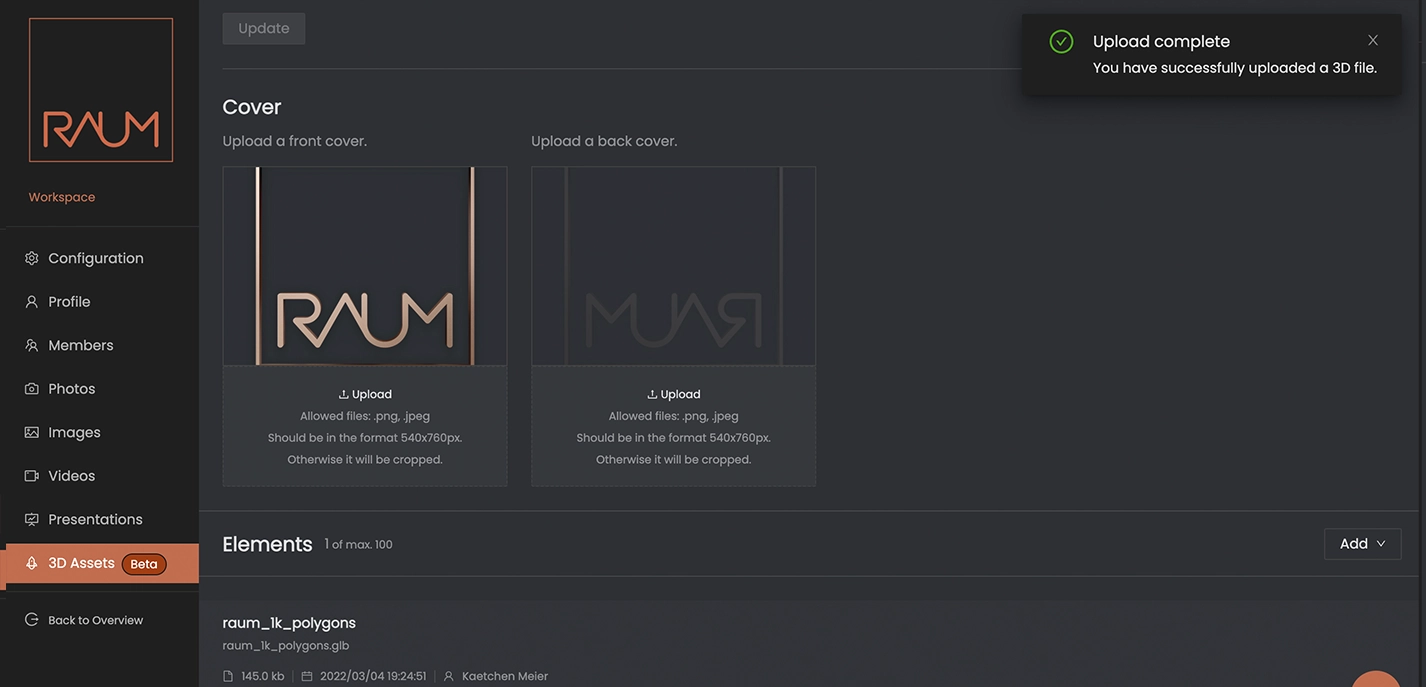
add asset to the Set
Now, you select the “Add button” on your right, you can add an asset to this specific set.
Click on the upload area which will appear after you clicked on add. Now choose the file from your computer and it will be uploaded.
You can now upload addition assets into the set, or continue at a later stage.
You also can update the metadata of each asset.
Note: Keep the sets together by theme for a better user experience in VR.
Note: keep the limits in mind for a good user experience in VR.
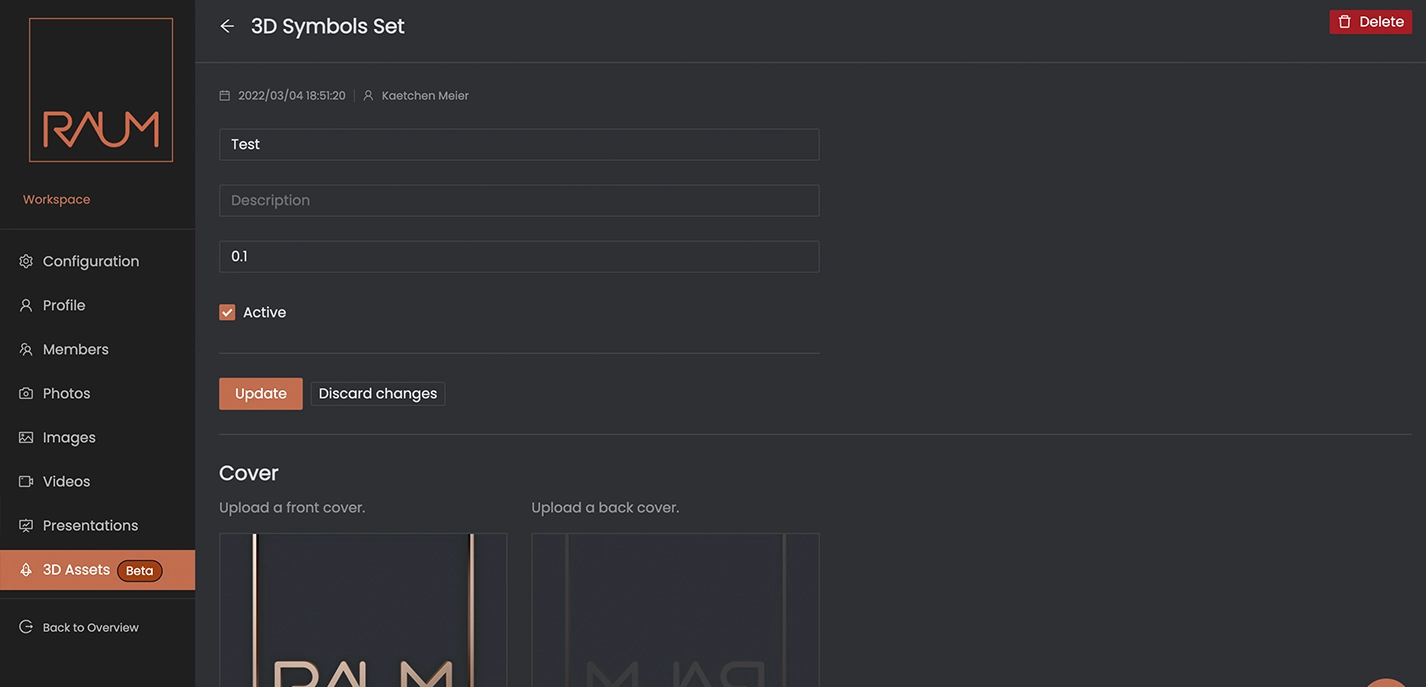
activate the Set
The last step is, you should do to make the set available in VR. This means you can prepare a workspace with a number of different sets and only activate the set you really need at the time.
A set which is activated contains a green check mark.
Note: activation or de-activation is also linked to your user right level.
links
